Follow sound from the source to the audience. Learn common audio gear, stage patching vocabulary, and the habits that help the department keep a clean, predictable signal path.
Follow the audio plot, patch list, and audio lead.
1 · Common audio equipment
Equipment
Purpose
Crew note
Dynamic microphone
Converts nearby sound into an electrical audio signal.
Handle by the body; keep the grille clean and protected.
Condenser microphone
Sensitive microphone often used for vocals, instruments, or overheads.
May need phantom power from the system. Do not toggle it unless assigned.
DI box
Connects many instrument or playback outputs to a balanced audio system.
Follow the input list and label; don't change the ground lift or pad by guess.
Stage box / I/O
Collects stage inputs and outputs and connects them to the console system.
Protect multipin and network connectors; confirm labels before patching.
Monitor / PA speaker
Delivers sound to performers or the audience.
Never move, connect, or aim a powered speaker without authorization.
2 · Balanced audio and XLR
Balanced audio uses a pair of signal conductors plus a shield to help reject induced noise over a cable run. Three-pin XLR is common for microphone-level audio, though the connector alone doesn't tell you the signal type or destination.
Use the correct cable from the patch list. Audio XLR should not be confused with DMX XLR just because the plugs look similar. Confirm labeling and department color code.
3 · Read the input list and stage plot
The input list gives channel names and expected sources. A stage plot shows where performers, microphones, instruments, and monitors are placed. Before connecting anything, verify the source label and assigned input.
Match the microphone or DI to the listed source.
Keep the stage end and console end identified as directed.
Report missing or duplicate channel labels rather than inventing a patch.
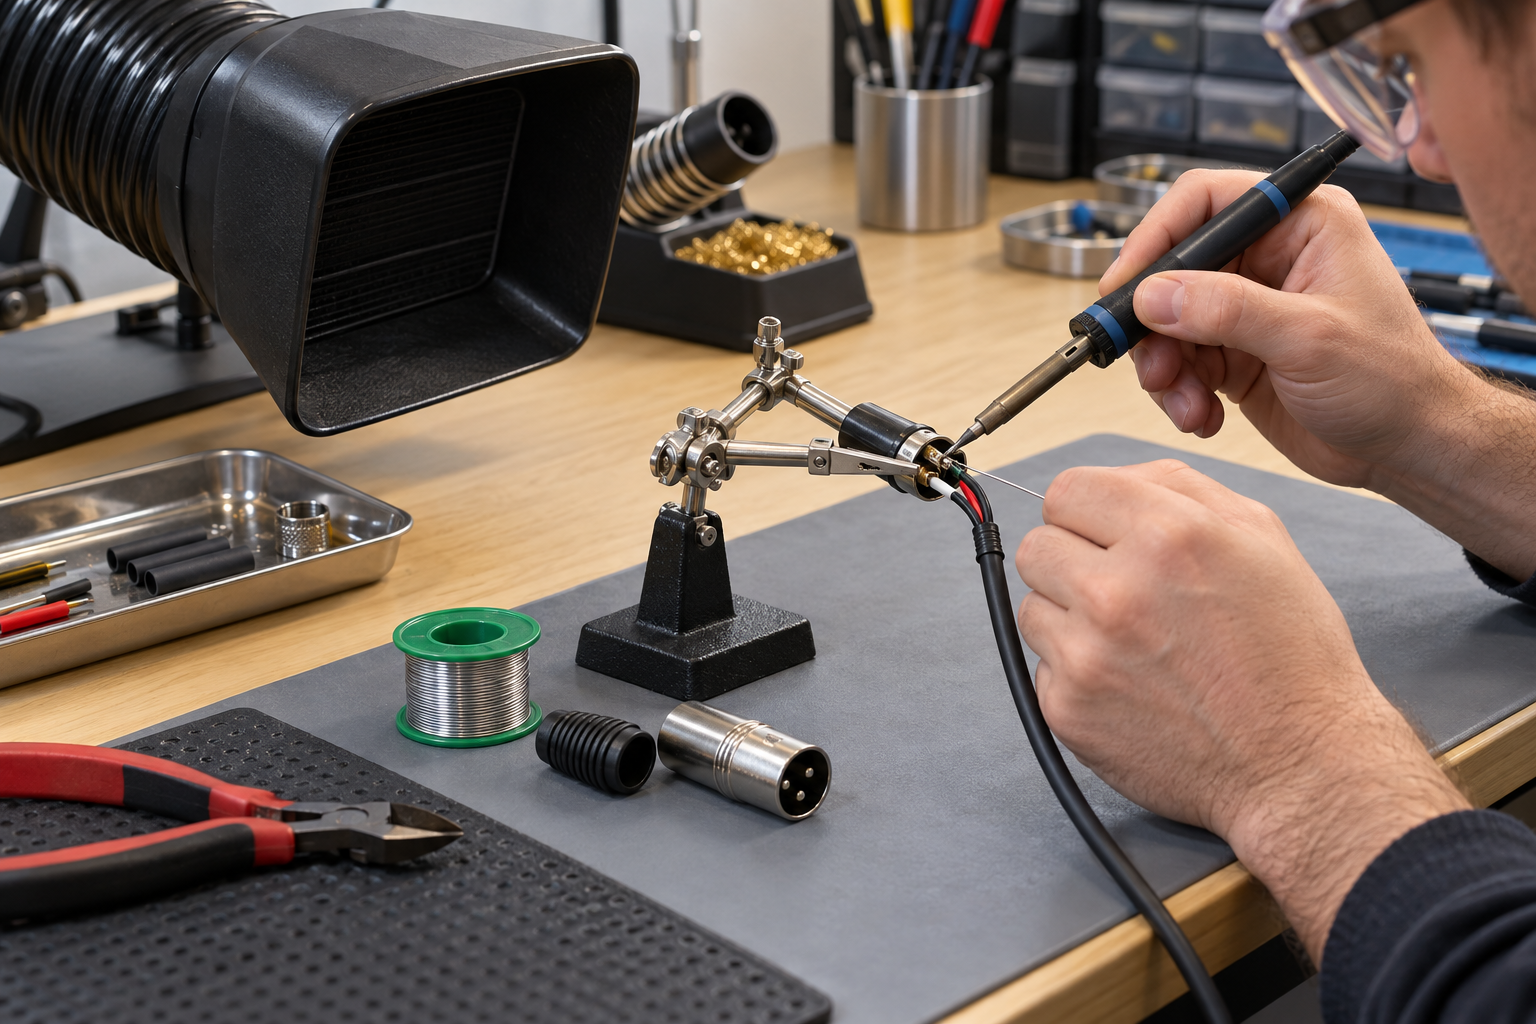
Illustrative workbench view. Learn the pinout, connector assembly, and inspection steps before service. Practice only with disconnected cable, ventilation, and the exact connector maker’s instructions.
4 · Simple audio signal flow
The exact system can be more complex, but this simplified path helps you understand the direction of the signal.
Signal flow is directional. Monitoring and recording paths may branch from the console.
5 · Gain, fader, and level
Input gain sets how strongly a source enters the system. A channel fader controls the channel's level in the mix. Output level affects the destination. These controls interact, but they are not interchangeable.
Avoid turning up microphones or outputs to troubleshoot. Sudden level changes can be dangerous to hearing and equipment. Tell the audio lead what you observed.
6 · Monitor world and feedback
Stage monitors let performers hear selected sources. A microphone placed in front of a loudspeaker can create feedback. Don't reposition monitors, change sends, or ring out a system unless you are assigned and trained to do so.
Keep the stage volume request and communication channel clear. If a performer reports an issue, pass the exact request to the audio lead.
7 · Line check: listen, label, report
A line check confirms that a patched source reaches the intended channel. A crew member may be asked to speak or play into a source when the audio lead calls for it. Keep to the cue, use the agreed test phrase, and stop when asked. A line check is not permission to adjust gain, phantom power, routing, or speaker level.
⚠Hearing safety: Live sound levels can cause permanent hearing damage. Follow venue hearing-protection requirements and safe listening practices. Do not test unknown outputs at high level.
Knowledge check
Audio quick quiz
Question 1 · signal flow
In a basic live audio path, what usually happens after a microphone is patched to stage I/O?
Question 2 · department coordination
A cable label conflicts with the input list. What should you do?